Editing the screencast - adding background music
In this post, you'll learn how to add background music to your screencast.
PREVIOUS POST < || > NEXT POST
Most screencasts contain background music that helps you create a certain mood, keep your video interesting, and retain the interest of your viewers. Let's add some background music to our screencast as well.
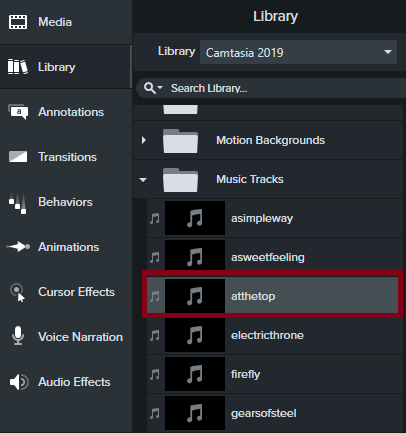
We'll use the atthetop.mp3 file as an audio file. This file is shipped with Camtasia by default and can be found in the Music tracks folder of your library.
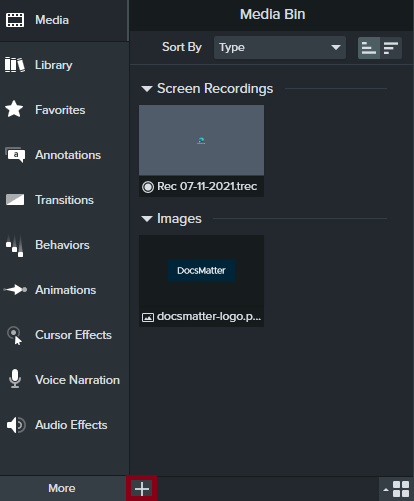
As an alternative, you can use your own audio file (e.g., in the MP3 format). In this case, you first need to add the audio file to the Media Bin.
- In the tab area of the Camtasia editor, select the Media tab, if it is not already selected.
-
Click the plus sign in the lower area of the tab, and then click Import media.
-
In the window that opens, navigate to your audio file and click Open.
- The file is loaded into the Media Bin and displayed next to your video file and the logo.
Now we can add the audio file to your screencast:
- Click on the audio file (either theatthetop.mp3 file in the Music tracks folder or your own file in the Media Bin) and drag it onto the timeline while holding the mouse button pressed. As soon as a blue frame appears around the track on the timeline, release the mouse button.
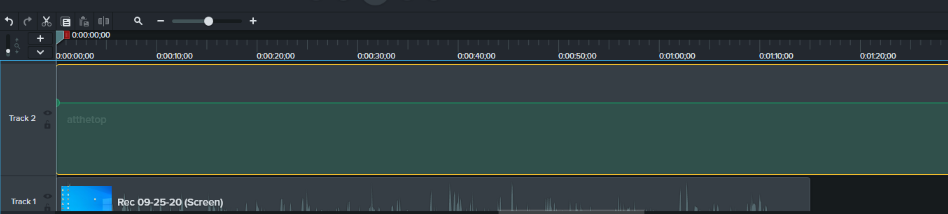
- If necessary, drag the audio file to the beginning of the track.
Reducing the audio file length
If your audio file is larger than the size of the screencast, you can reduce it by following these steps:
- Move the mouse cursor to the right edge of the audio file.
- The cursor turns into a double-headed arrow.
![]()
-
Grasp the frame (left-click and hold it) and drag it to the left until it matches the length of the screencast.
-
Release the mouse button.
Increasing the audio file length
If the audio file is smaller than your screencast, there will see some empty space at the end of the track on the timeline. To fill in the empty space with music, do the following:
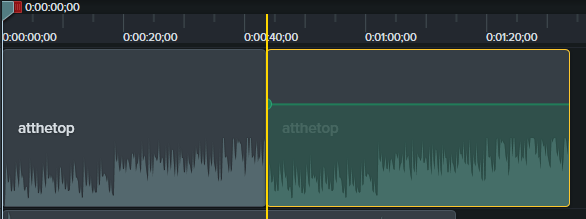
- Add the auido file to the timeline once more by performing the steps above.
- Now our track contains the audio file twice.
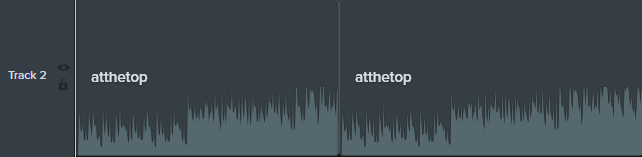
- If there is an empty space between the audio files, click the second file and drag it to the right border of the first file. When a vertical yellow line appears between the audio files, release the mouse button.
-
Grasp the frame (left-click and hold it) and drag it to the left until it matches the length of the screencast.
-
Release the left mouse button.
- Now the borders of the video and audio file should coincide.
- Save the project.
Adjusting the volume
If you listen to the screencast, you may notice that the background music is playing too loudly, drowning out our text. To decrease the music volume, do the following:
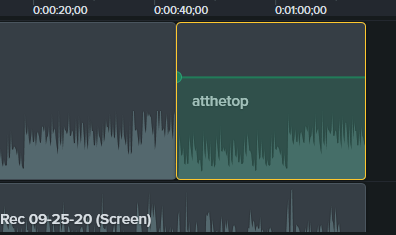
- Click on the first sound track on the timeline.
- The sound track is highlighted in yellow.
- A horizontal green line is displayed on top of the sound waves.
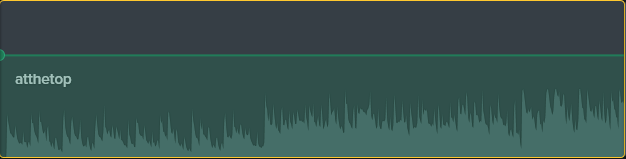
-
Click on the green line and pull it down. The percent indicator on the left shows the current track volume.
-
When the volume is down to 20%, release the mouse button.
-
Listen to the screencast. If necessary, adjust the volume by moving the green line down or up.
-
Select the second audio track and decrease the sound (in our case to 20%) by following the steps described above for the first track.
-
Save the project.
PREVIOUS POST < || > NEXT POST