Installing Ubuntu - the easy way
This post covers how to install Ubuntu (LTS) on your laptop or PC, including different options you can choose during the installation process.
Prerequisites
We assume the following:
-
You’ve checked the hardware requirements for installing Ubuntu. If you have not, visit the Ubuntu download page.
-
You’ve downloaded the ISO image of Ubuntu. In our example, we’ll use the Desktop version of Ubuntu 20.04.4 LTS.
-
You’ve created a bootable Ubuntu USB stick containing the downloaded ISO image. For example, you can use the Rufus utility to create a bootable USB stick on Windows. And the default Disk Utility helps you to write the ISO image to your USB stick on Mac.
You can also use another installation media (e.g., DVD) to install Ubuntu following the instructions below.
-
You’ll have a single partition for storing all your files.
-
Your BIOS is configured to boot from a USB drive.
-
You don’t mind erasing your hard drive.
Installation
- Insert the Ubuntu USB stick (or another installation media) into your drive and reboot your laptop / PC.
- After a while, the initial installation screen is displayed. On this screen, you can choose the language you want to use during installation.
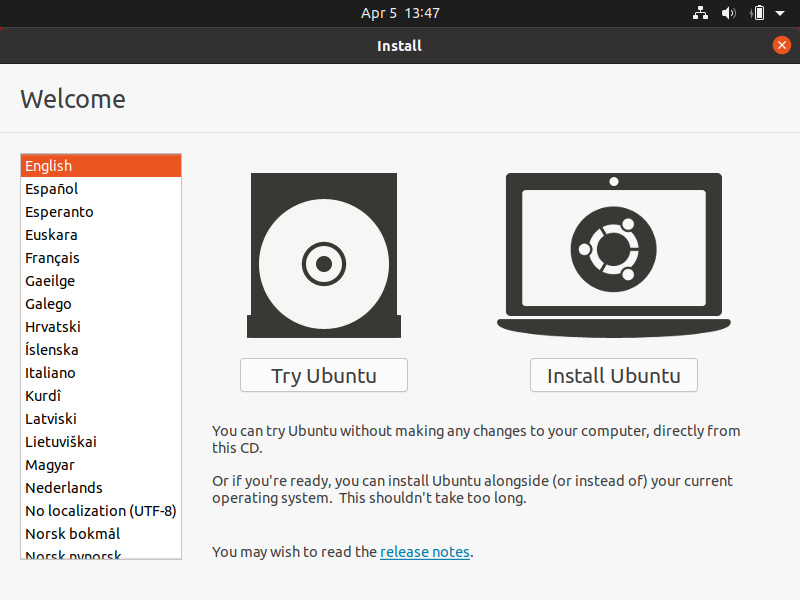
- Select the English entry and click the Install Ubuntu button on the right part of the screen.
- The Keyboard layout window opens.
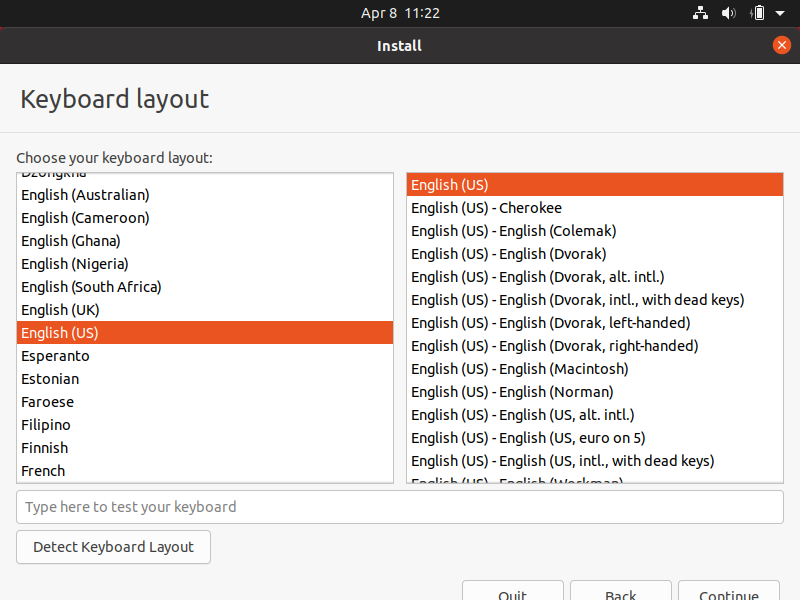
- Choose the keyboard layout you want to use and click Continue. This setting also determines some language-related elements of your system (e.g., the language used by spell checkers).
- The Updates and other software window opens.
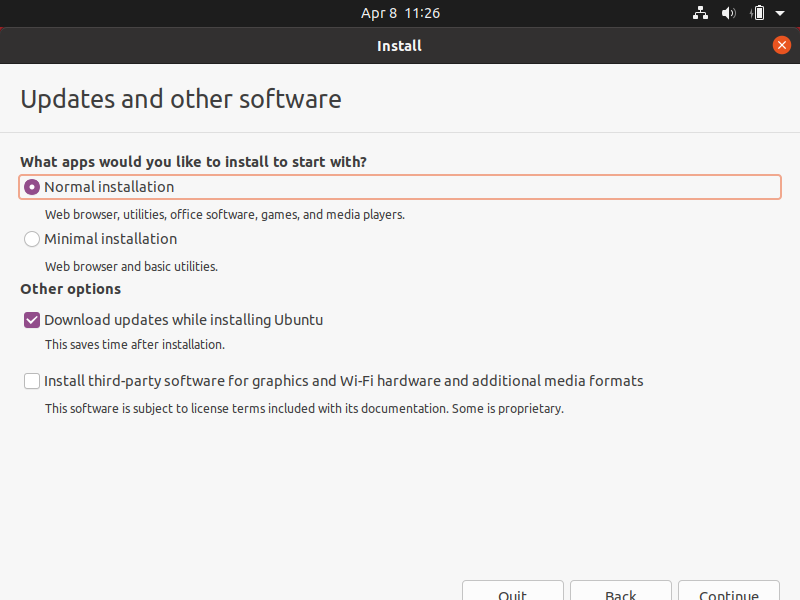
- Choose the initial software installation set - either normal or minimal.
-- If your storage capacity is limited, go with the minimal installation set. Otherwise, leave the Normal installation option activated.
-- Decide whether you want to download updates during the installation. This can save you time later.
Once you are done, click Continue.
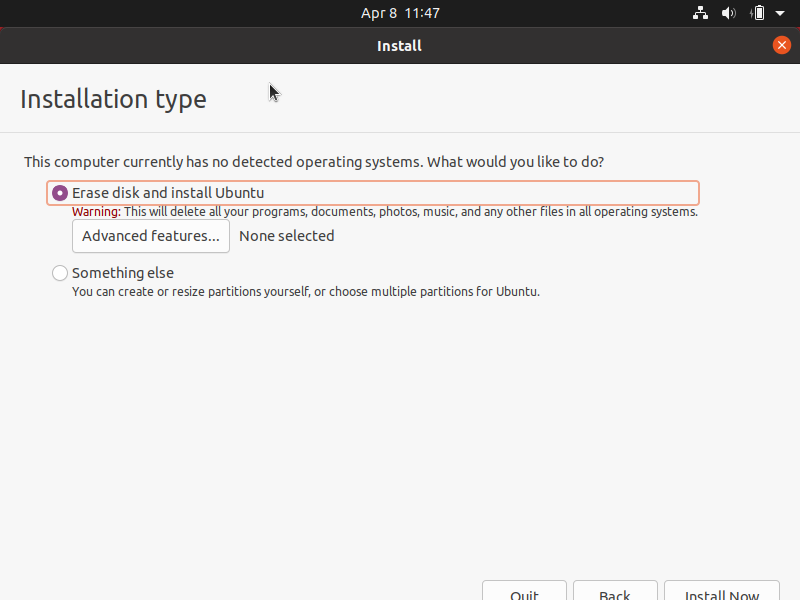
- The Installation type window opens.
-
Choose the installation type. If you are installing Ubuntu on new hardware (what we assume in this article and what is recommended if you are new to Linux), leave the Erase disk and install Ubuntu option activated. If you want to divide your drive into smaller partitions, see, for example, https://help.ubuntu.com/community/HowtoPartition/ResizingPartition for more detail.
-
Click Install now and then in the confirmation window that opens, click Continue.
- The Where are you? window opens.
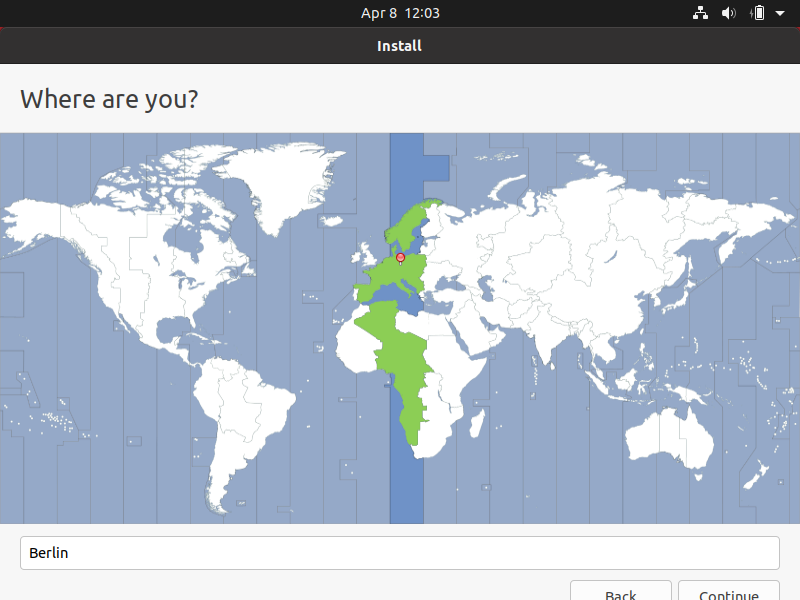
- Make sure that your current location / zone is selected in the drop-down list and click Continue. As a rule, this information is detected automatically if you have an active Internet connection.
- The Who are you? window opens.
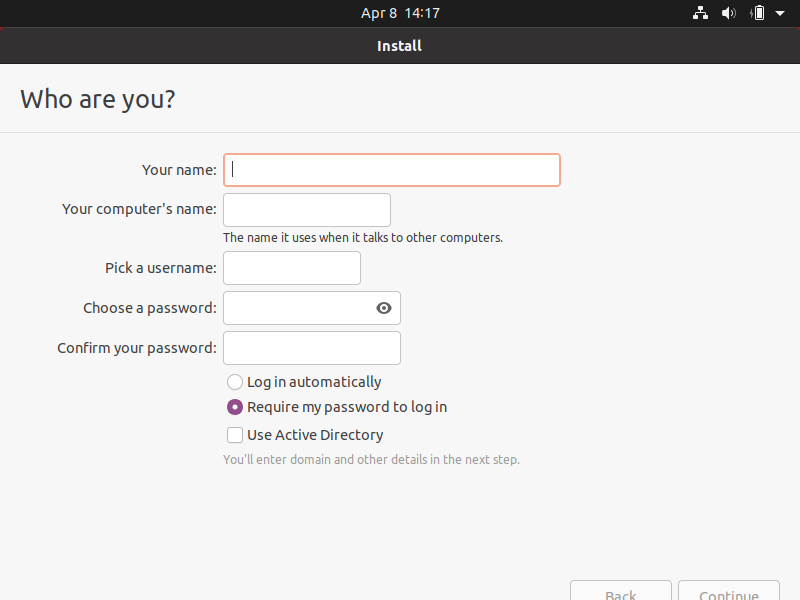
- Enter the information for logging in to your system (username, password, etc.) and click Continue.
-
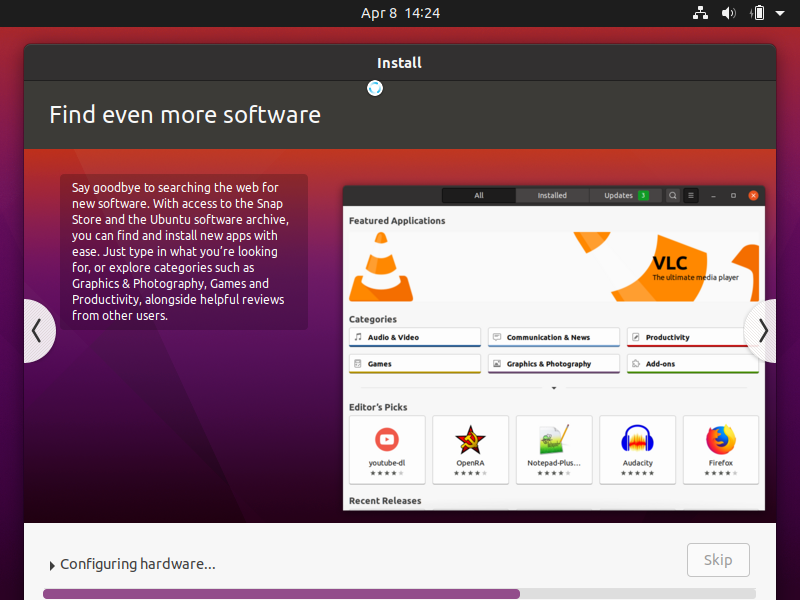
Ubuntu is installed on your laptop / PC.
-
The installation progress is shown in the Install window.
-
Click Restart Now.
-
If asked, remove your USB stick from the laptop / PC and press Enter.