Creating a bootable USB stick for Ubuntu 22.04 LTS
This post shows you how to create a bootable USB stick for Ubuntu 22.00 LTS. You can then use this UBS stick to install the Ubuntu distribution on your laptop.
By creating a bootable USB stick, you can install the Ubuntu distribution on your laptop or try it out in Live mode.
NOTE: In this tutorial, we'll create a bootable USB stick using a 4 GB or larger USB stick. The USB stick should be empty as all data on it will be erased.
Downloading an ISO image
First of all, we need to download the right Linux distribution. As we’ll be creating a bootable USB stick for Ubuntu 22.04 (the latest Ubuntu LTS version at the time of this writing), we need to download the ISO image for this distribution:
-
Go to the Ubuntu website.
-
Click on the Download button.
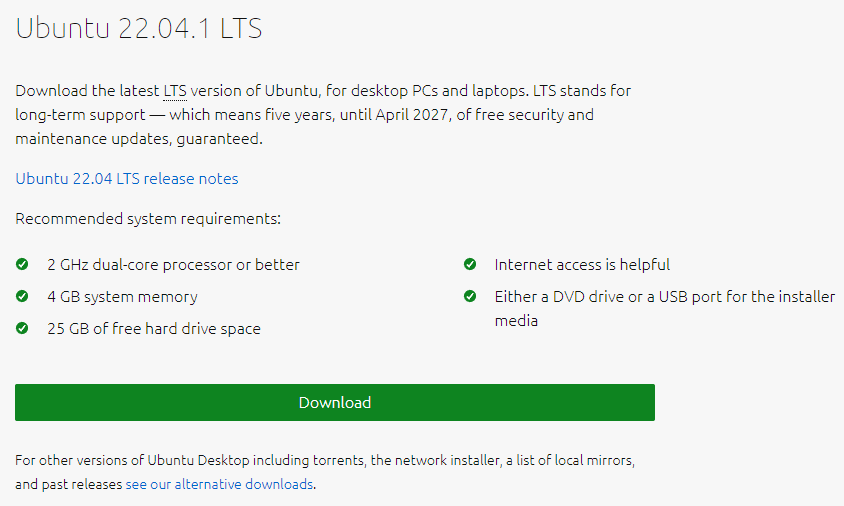
- Follow the on-screen instructions to download the ISO image to your laptop.
Writing the ISO image to a USB stick
We’ll use the Rufus utility to write the downloaded ISO file to a USB stick. This utility is available for most modern operating systems (e.g., Windows and Mac).
-
Go to the Rufus website and download the utility.
-
Double-click on the installation file and follow the on-screen instructions to install the utility on your laptop. You can also download a portable version of this utility and skip this step.
-
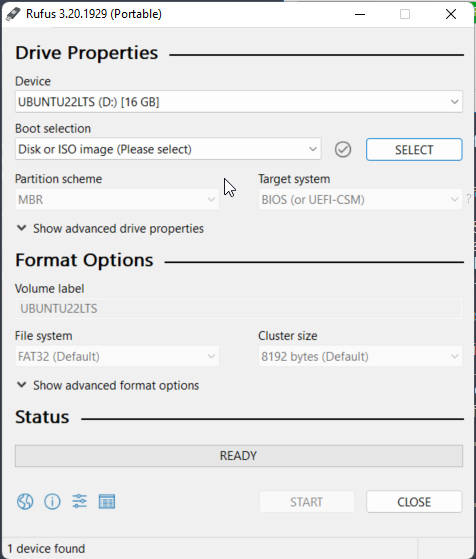
Launch the utility.
-
In the Device field, select your USB stick. Make sure that you’ve selected the correct USB stick, as all data will be erased on this stick.
-
Ensure that the Disk or ISO image entry is selected in the Boot selection field.
-
Click on the SELECT button and navigate to the downloaded Ubuntu ISO image.
-
Once you’ve selected the ISO image, Rufus automatically fills out all the remaining fields and activates the START button. So, your window may look like the following:
-
Click on the START button.
-
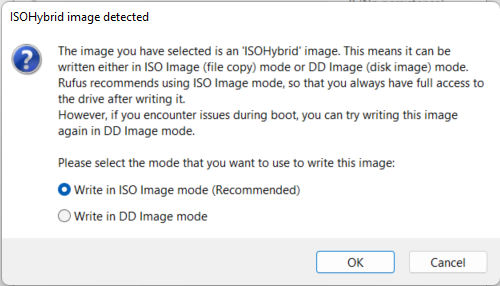
If you see the ISOHybrid image detected window, make sure that the Write in ISO Image mode (Recommended) option is selected and click OK.
-
In the displayed warning window, click OK to confirm the operation.
-
Wait for Rufus to finish creating the bootable USB stick.
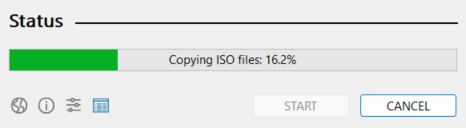
- Once the writing process is complete, click on the CLOSE button.
Checking the bootable USB stick
Now we need to check that the created USB stick can be booted:
-
Insert the USB stick into your laptop.
-
Reboot the laptop.
-
When your laptop starts up again, press the BIOS setup key (usually F2 or F12, depending on your laptop hardware).
-
In the BIOS menu, go to the Boot section and select your USB drive as the preferred boot media.
-
Reboot your laptop once more. Now the laptop should boot from the selected USB drive, and you should see the Ubuntu installation welcome screen.