Getting to know the SDL Trados Studio interface - Part 3
This post provides information about the remaining components of the SDL Trados Studio interface.
The Projects section
Under Projects, you can create new translation projects or manage existing ones.
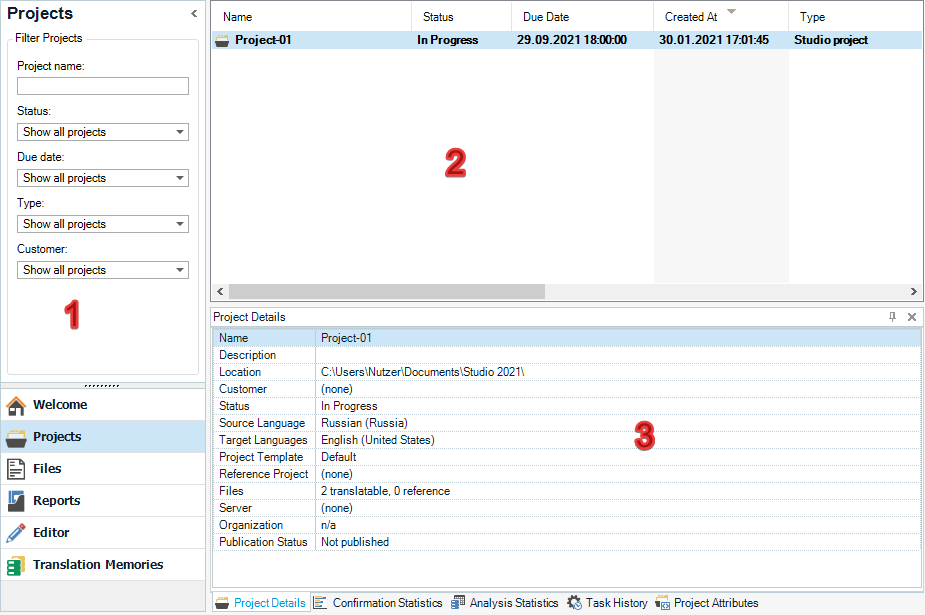
In the navigation pane (1), you can filter projects by status, due date, or type. The central area is divided into two parts:
- The upper part of the area (2) lists the available projects.
- If you select a project in the upper part, you can view various information about it in the lower part of the area (3) by switching between the tabs (4) Project Details, Confirmation Statistics, Analysis Statistics, Task History, Project Attributes.
If you select Projects, the ribbon provides access to commands for working with projects. For example, you can create a new project or change settings for an existing project.

Working with projects will be described in detail in one of the following blog posts.
The Files section
The Files section is used for working with project files. All commands for basic file operations are available on the ribbon. For example, here you can perform the following operations:
- Open files for translation, editing, or approval.
- Add new files to the project or delete unnecessary files from it.
- Open the folder where the file to be translated is stored.

The central area is divided into two parts:
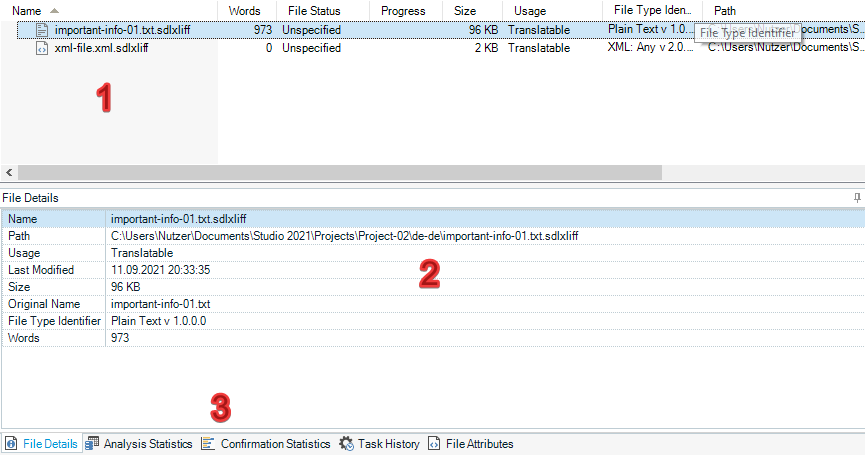
- The upper part (1) lists all the files included in the project.
- After selecting a file in the upper part, in the lower part of the area (2) you can view various information by switching between the tabs (3) File Details, Analysis Statistics, Confirmation Statistics, Task History, and File Attributes.
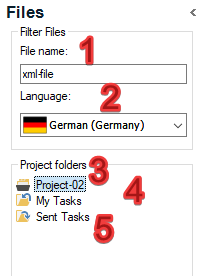
The navigation pane on the left side of the window provides access to the following functions:
- (1) Selecting the file that should be displayed in the central area.
- (2) Selecting the language for which the files should be displayed in the central area.
- (3) Selecting the folder that contains the project files. If the folder contains subfolders, you can also activate the Include subfolders option. In this case, the files in the main folder and all subfolders are displayed in the central area.
- (4) Show your assigned tasks.
- (5) Show tasks assigned by you to other project participants.
You will learn more about the main file handling functions in the following blog posts.