Editing the screencast - adding a logo
This post deals with adding a logo to your screencast.
PREVIOUS POST < || > NEXT POST
You can add a logo to a screencast to indicate its authorship or just to make a strong first impression on your readers. As a rule, the logo is small and placed at the bottom or top of the screen without affecting the main content.
You can use an image in PNG, JPEG, or another format that shows your initials or your organization's emblem as a logo. Let's place a logo at the bottom right of our screencast. You can follow this link to download the DocsMatter logo (it's just a picture with some text on it) or use your own logo.
Do the following:
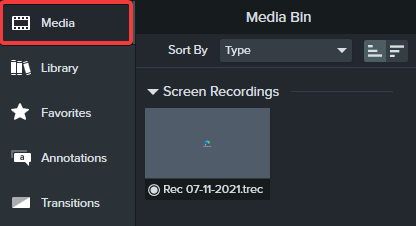
- In the tab area of the Camtasia editor, select the Media tab if it is not already selected.
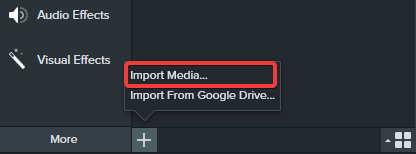
- Click the plus sign in the lower area of the tab and then the Import media entry.
-
In the opened window, go to the desired folder and select the logo.
- The logo is loaded into the Media Bin and displayed in the Images section of the bin.
![]()
- Click the logo and drag it onto the timeline while holding the mouse button pressed. As soon as a blue frame appears around the track on the timeline, release the mouse button.
![]()
-
Drag the logo to the beginning of the track.
-
Move the mouse cursor to the right edge of the logo.
- The cursor turns into a double-headed arrow.
![]()
- Grasp the frame and stretch the logo to the length of the entire clip.
![]()
-
In the preview area, grasp the logo by the edge and reduce it to the desired size.
-
Move the logo to the lower left corner of the screen.
- Your preview area should now look like this.
![]()
PREVIOUS POST < || > NEXT POST