Setting up Git
This post gets you familiar with the Git version control system. You'll learn how to install Git on your computer, verify your installation, and prepare Git for managing your content.
Git is an application that allows you to keep track of content, including all changes you make to it over time. With Git, you can
-
Record the changes, store them in a local or remote repository, and reference any stored changes as needed.
-
Go back and forth between versions.
-
Review the differences between versions.
-
And much more.
Millions of people and companies worldwide build, ship, and maintain their software and other digital products using Git, for example:
-
Software engineers (developers, architects, etc.). Software developers building products can use Git to save their progress and coordinate their work. They can split the work into different pieces and assign them to various team members. Each member can focus their efforts on a task and share the work through a central repository on GitHub, GitLab, BitBucket, or other repository hosting services.
-
Content creators (technical writers, book authors, etc.). For example, if you follow the philosophy of storing documents and code together, you may want to use text formats (Markdown, AsciiDoc, or reStructuredText) for documentation and store them in a central repository. You and your colleagues can then simply create diffs between different versions (commits) of the text files and check the differences. Once the changes are reviewed and approved, you can release the final document version for use by your organization.
Overview
The process of setting up Git includes three main steps:
Installing Git
First of all, you need to install Git on your local computer. The example below demonstrates how to install Git on a Windows computer.
- Go to the https://git-scm.com/downloads website.
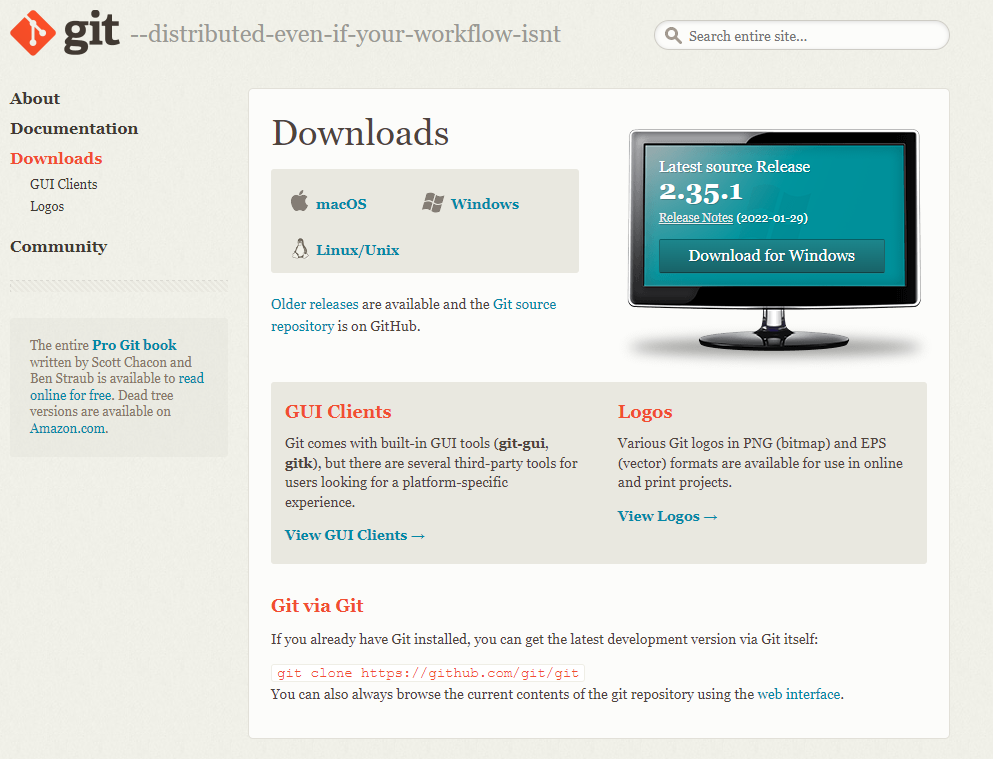
- Click the Windows link in the Download section.
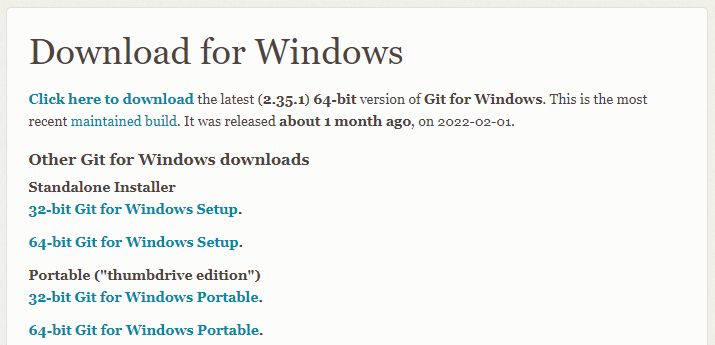
- The Download for Windows page opens.
-
Click one of the links to download the right version for your system.
-
Once the download is complete, double-click the installation file.
- The installer window opens.
- Follow the on-screen instructions to install Git. You can stick to the default settings offered by the installer.
Verifying the Git installation
Your Git installation on Windows comes with a tool called Git Bash. You can use this tool to work with Git in the command prompt.
If you are using a Linux distribution or a MacOS, your system should already come with a built-in terminal where you can run Git commands. On Mac, you can click the magnifying glass at the top right of your desktop, type Terminal, select the terminal from the list of applications, and press Enter. On Linux, press Ctrl-Alt-T to open the terminal window.
Let's use Git Bash to verify your Git installation:
- Click All apps - Git - Git Bash on the Windows Start menu.
- The Git Bash application opens.
- You see the command prompt.
-
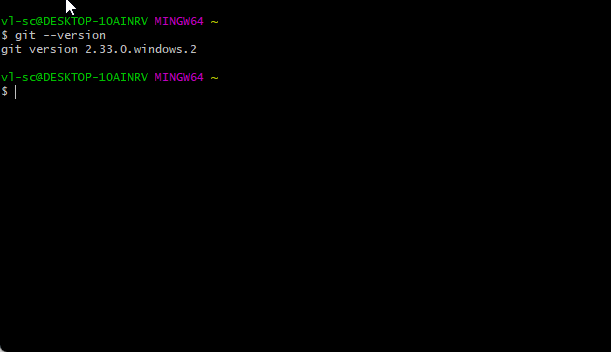
Type the following command and press Enter:
 ~> git --version
 git version 2.33.0.windows.2
If your output looks similar to the one above - that is, you see the version of Git, you've successfully installed Git on your computer and can proceed with the next step.
Preparing to work with Git
Before you can start working with Git, you need to configure some of its settings. Git requires at least your name and email address to be specified. To configure these settings, launch Git Basch and execute these commands:
-
Setting your name:
~> git config user.name "John Doe" -
Setting your email address:
~> git config user.email "john.doe@email.com"
You can check that the settings have been successfully set with this command:
    ~> git config --list
    ...
    user.email=john.doe@email.com
    user.name=John Doe
Now that you have configured your user credentials, you are ready to start using Git for tracking your content.